Talk to us

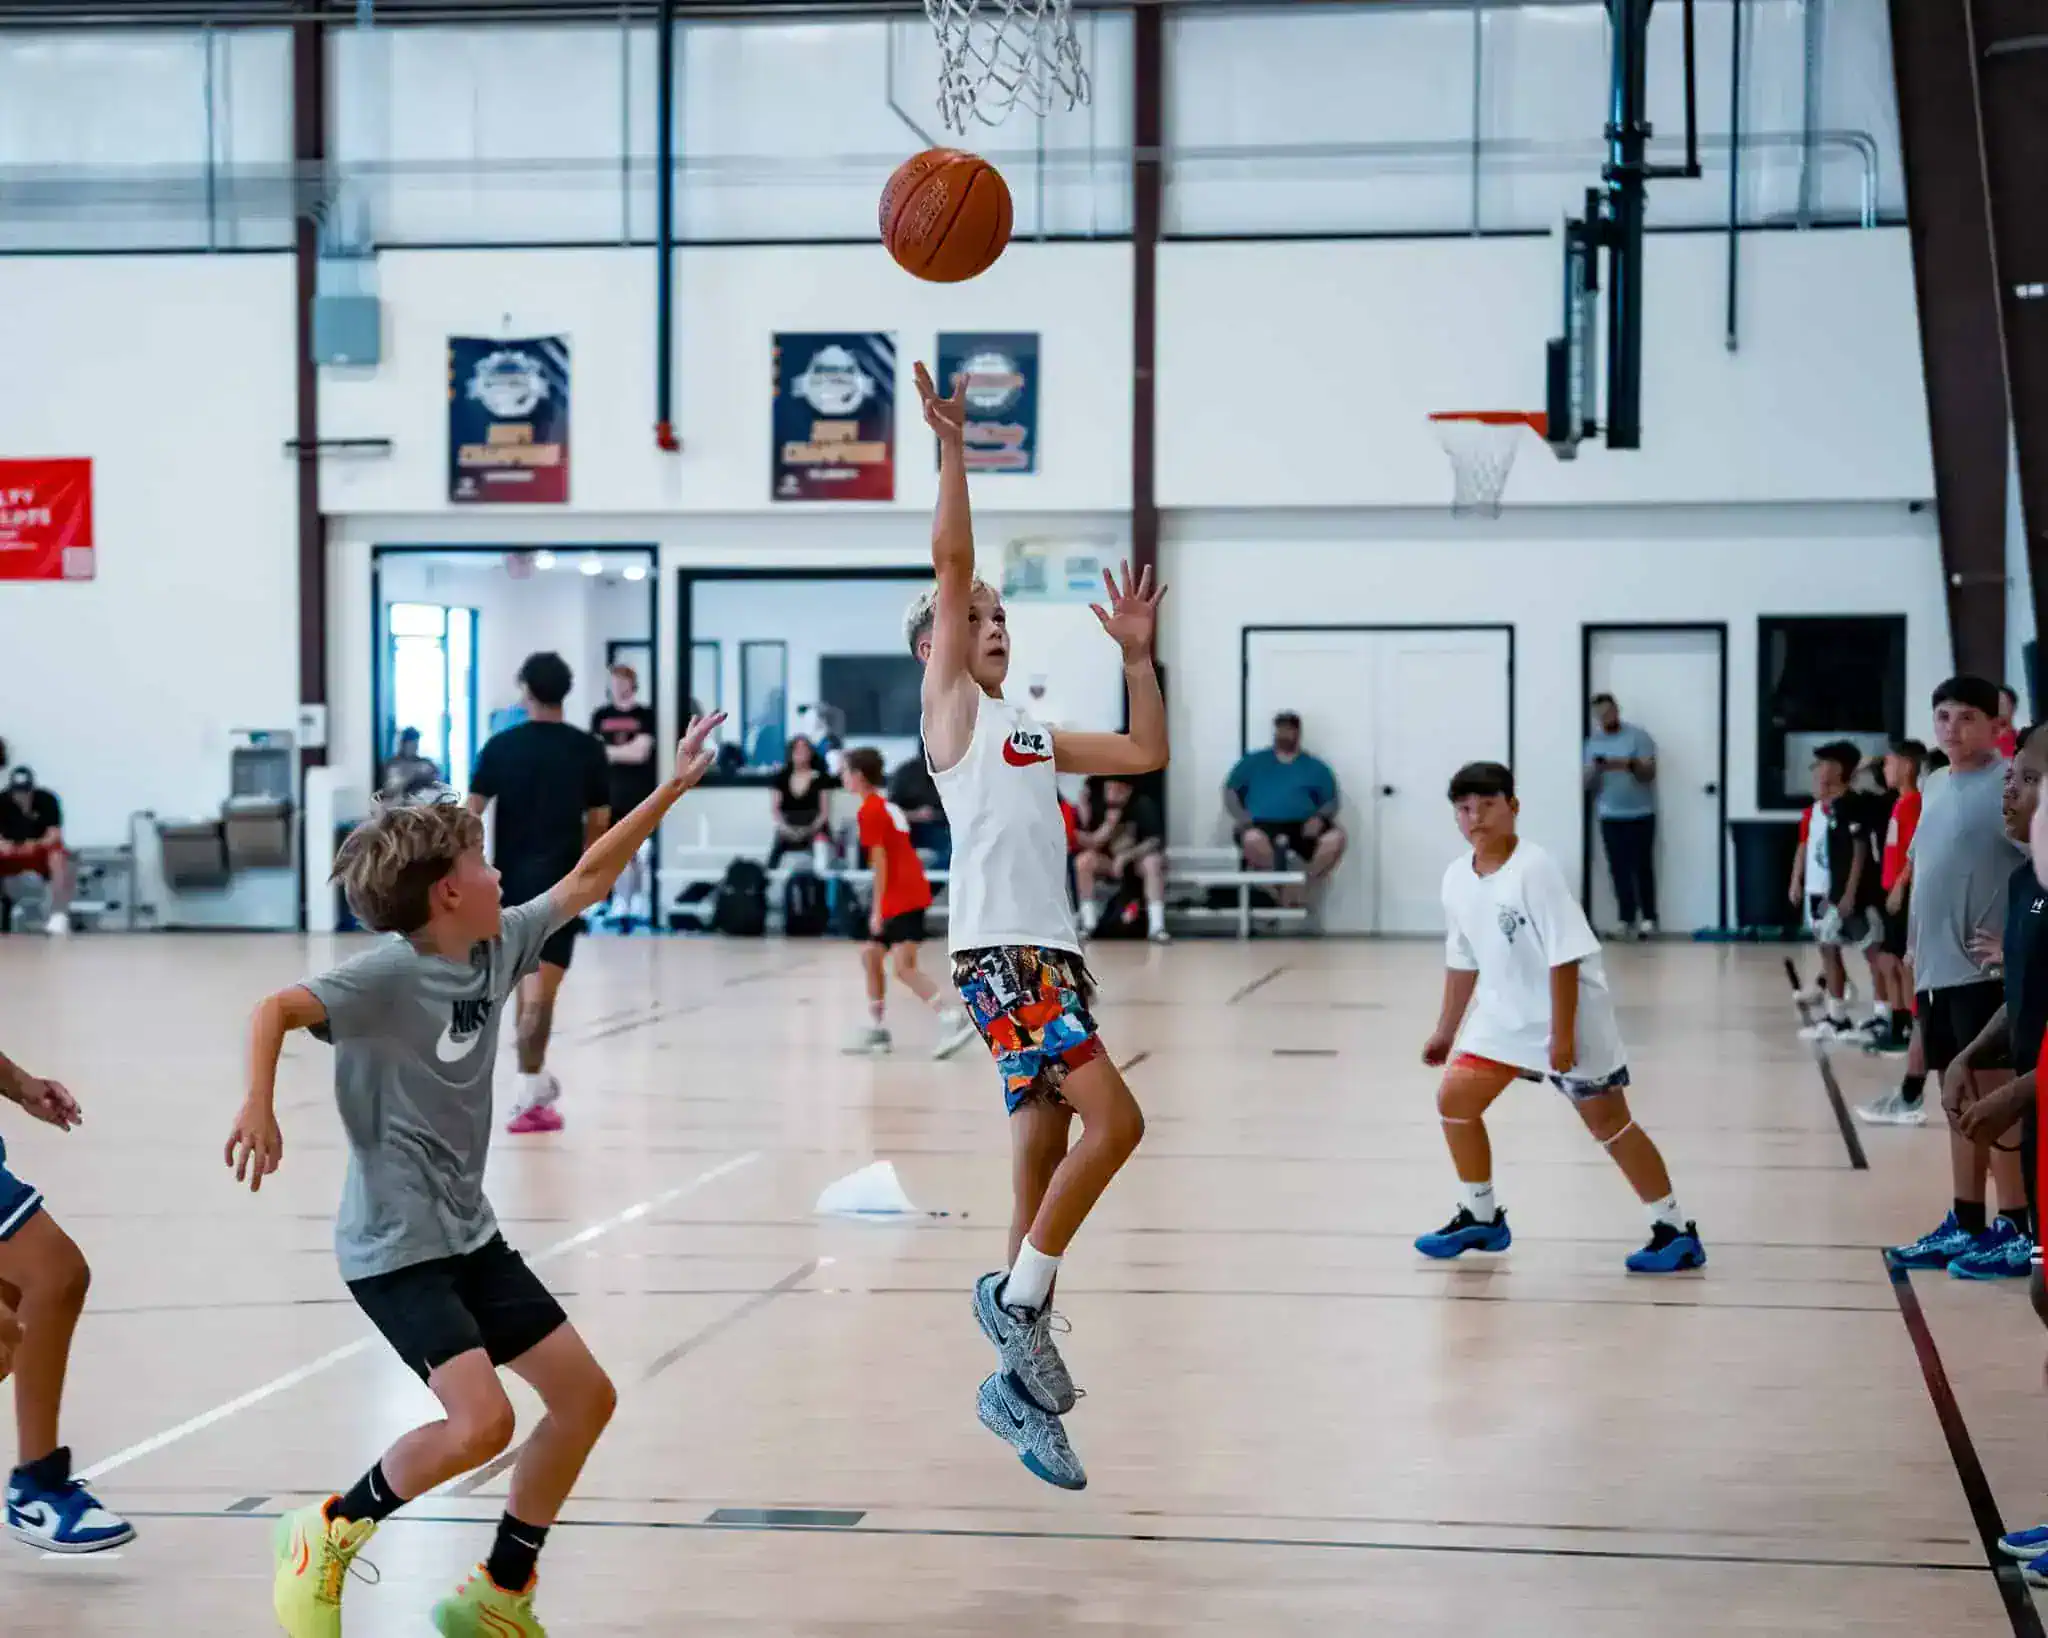
Shooting is one of the most important skills in basketball, but simply taking more shots does not always lead to better results. Purposeful basketball shooting drills give players a way to work on their form, footwork, accuracy, range, movement, and ability to shoot under pressure.
Whether you’re learning the fundamentals, playing youth basketball, or preparing for more competitive competition, the key is to build your shooting progressively. Start with controlled form work, then add distance, movement, passing, dribbling, and pressure as your technique becomes more consistent.
This guide covers 21 basketball shooting drills for beginners, youth players, intermediate players, advanced players, and team practices.
Why Are Basketball Shooting Drills Important?
Basketball shooting drills give players structured repetitions so they can work on specific parts of their shot instead of simply taking random attempts.
-
Build Consistent Shooting Form
Repeating the same basic mechanics helps players become more comfortable with their stance, shooting-hand position, release, and follow-through. Starting close to the basket makes it easier to focus on technique before adding distance.
-
Improve Shooting Accuracy
Shooting from different areas of the court helps players learn how consistently they can make shots from different positions. Tracking makes and attempts can also show which areas need more practice.
-
Make Good Technique More Natural
Repeated, technically sound practice helps players become more comfortable with the movement of their shot. The goal is quality repetition rather than simply accumulating a large number of attempts.
-
Improve Footwork and Balance
Game shots often require players to stop, step into a pass, change direction, or shoot after a dribble. Shooting drills that include these movements help players connect their footwork with their shooting motion.
-
Build Confidence Through Practice
Consistent preparation can make players more comfortable taking shots during games. Confidence should come from knowing you’ve practiced the situation, not simply from taking as many shots as possible.
Best Basketball Shooting Drills for Beginners and Youth Players
If you’re new to basketball, start with drills that allow you to focus on your shooting mechanics without adding too much movement or pressure. Once your technique becomes more consistent, gradually increase the distance and difficulty.
Form Shooting Drills
Form shooting lets players slow things down and pay attention to the fundamentals of their shot.
1. Close-Range Form Shooting
Close-range form shooting is one of the simplest ways to work on balance, shooting-hand position, release, and follow-through without having to generate power from a long distance.
How to do it:
- Stand a few feet from the basket.
- Start in a balanced stance with your knees comfortably bent.
- Position your shooting hand under the ball and your guide hand on the side.
- Bring the ball into your normal shooting position.
- Extend through your legs and shooting arm.
- Release the ball smoothly toward the basket.
- Hold your follow-through before resetting.
Reps: 3 sets of 10–15 shots.
Variations:
- Move around the basket after each set.
- Take a step farther away when your form remains consistent.
- Have a teammate rebound and return the ball.
Best for: Beginners, youth players, and players warming up before more advanced shooting work.
2. One-Hand Form Shooting
One-hand form shooting reduces the involvement of the guide hand so players can focus more closely on the shooting arm, elbow, wrist, and release. Jr. NBA uses this type of close-range drill as part of its youth shooting instruction.
How to do it:
- Stand close to the basket.
- Hold the ball with your shooting hand.
- Position your elbow underneath the ball.
- Bend your knees comfortably.
- Extend through your legs and shooting arm.
- Release the ball with controlled wrist and finger action.
- Hold your follow-through.
Reps: 20–30 shots.
Variations:
- Shoot from both sides of the basket.
- Move slightly farther away while maintaining your mechanics.
- Pause briefly before beginning the shooting motion.
Best for: Beginners and players refining their shooting mechanics.
3. Ladder Range Extension
Ladder range extension gradually moves the shooter farther from the basket instead of asking them to immediately shoot from long range. This helps players work on range without sacrificing their mechanics.
How to do it:
- Start a few feet from the basket.
- Make 3–5 shots from that distance.
- Take one step backward.
- Repeat the same number of shots.
- Continue moving back only while your form remains comfortable.
- Move forward again if you start forcing the ball toward the basket.
Duration: 10–15 minutes.
Variations:
- Move back after 3 consecutive makes.
- Move back after 5 consecutive makes.
- Repeat the progression from different areas of the court.
Best for: Beginners and youth players developing their shooting range.
Coaching Point: If a player has to throw the ball, change their release, or lose balance to reach the basket, move closer.
4. Free Throw Drill
Free throws give players a controlled opportunity to practice their shooting routine without a defender contesting the shot.
How to do it:
- Stand at the free-throw line.
- Use the same routine before each attempt.
- Set your feet and take a breath.
- Bend your knees comfortably.
- Shoot without rushing.
- Hold your follow-through.
- Record your makes and attempts if you want to track progress.
Reps: 20–30 free throws.
Variations:
- Shoot in sets of 5 or 10.
- Set a target percentage.
- Track your percentage from session to session.
Best for: Players of all ages and skill levels.
Spot Shooting Drills
Spot shooting gives players repeated opportunities to shoot from specific areas of the court and track their results.
5. Spot Shooting Drill
Choose several shooting positions and take a set number of shots from each one. This makes it easy to measure progress and identify areas that need more practice.
How to do it:
- Choose 5–7 shooting spots.
- Start at the first position.
- Take 5 shots.
- Record your makes.
- Move to the next position.
- Continue until you complete every spot.
- Add your total makes at the end.
Reps: 3 rounds of 5 shots from each spot.
Variations:
- Increase to 10 shots per spot.
- Have a teammate pass the ball.
- Set a time limit for each round.
Best for: Beginners through advanced players.
6. Around the World
Around the World is a shooting game that moves players through a series of designated spots around the court. The exact rules can vary, so you can adjust the number and location of spots to suit the group.
How to do it:
- Choose 5–10 shooting positions.
- Start at the first position.
- Take a shot.
- Move to the next position according to your chosen rules.
- Continue around the designated path.
- Complete the circuit before starting another round.
Reps: 2–3 complete rounds.
Variations:
- Require two makes before moving.
- Add a time limit.
- Race against another player.
Best for: Beginners and youth players.
7. 7-Spot Shooting Drill
The 7-Spot Shooting Drill uses seven fixed positions and provides a straightforward way to measure shooting consistency.
How to do it:
- Mark seven shooting positions.
- Start at the first spot.
- Take 5 shots.
- Record your makes.
- Move to the next spot.
- Repeat until all seven positions are complete.
Reps: 5–10 shots per position.
Variations:
- Set a minimum number of makes.
- Record your shooting percentage.
- Compete against a teammate.
Best for: Youth and intermediate players.
8. Longhorn Shooting
A commonly used version of Longhorn Shooting keeps players at a shooting spot until they miss two shots consecutively. The format adds a simple pressure element while giving players repeated attempts from the same location.
How to do it:
- Choose your shooting positions.
- Start at the first spot.
- Take your shots and count your makes.
- Continue until you miss two shots in a row.
- Move to the next spot.
- Continue through the selected positions.
Duration: About 10–15 minutes or one complete circuit.
Variations:
- Set a maximum number of attempts.
- Set a minimum number of makes.
- Track your best streak from each spot.
Best for: Intermediate and advanced players.
Catch-and-Shoot Drills
Catch-and-shoot drills prepare players for situations where they receive a pass and need to get into their shot efficiently.
9. Catch-and-Shoot Drill
This drill combines receiving a pass, organizing your feet, and moving directly into your shooting motion.
How to do it:
- Choose a shooting position.
- Have a teammate stand in a passing position.
- Prepare your feet before the pass arrives.
- Catch the ball with your hands ready to shoot.
- Move directly into your shooting motion.
- Release the shot.
- Relocate and repeat.
Reps: 5–10 shots from five different spots.
Variations:
- Add a shot fake before shooting.
- Change the direction of the pass.
- Add a controlled defensive closeout.
Best for: Youth through advanced players.
10. Partner Shooting
Partner shooting allows one player to focus on shooting while the other handles passing and rebounding. The players then switch roles.
How to do it:
- Player A chooses a shooting position.
- Player B passes the ball.
- Player A catches and shoots.
- Player B rebounds.
- Player B returns the ball.
- Continue for the chosen number of shots.
- Switch roles.
Duration: 5 minutes per player before switching.
Variations:
- Change shooting positions.
- Add movement before the catch.
- Increase the pace of the passes while maintaining good technique.
Best for: Beginners, youth players, and small-group practices.
11. Pressure Jump Shots
Pressure Jump Shots add a scoring target or rule to regular shooting practice. This gives each attempt a clear purpose and introduces a small amount of competitive pressure.
How to do it:
- Choose five shooting positions.
- Set a make target for each position.
- Start shooting from the first spot.
- Continue until you reach the target or your chosen attempt limit.
- Move to the next spot.
- Complete all five positions.
Duration: 10–15 minutes.
Variations:
- Require two consecutive makes.
- Add a countdown.
- Add a controlled defensive closeout.
Best for: Players preparing for competitive situations.
Movement and Game-Speed Shooting Drills
Once players are comfortable shooting from set positions, movement can make practice more representative of game situations.
12. 5-4-3-2-1 Shooting Drill
This drill combines movement between several shooting positions with a decreasing number of attempts. The pace can be adjusted to the player’s age and skill level.
How to do it:
- Set up five shooting positions.
- Start at the first position.
- Take 5 shots.
- Move to the next position.
- Take 4 shots.
- Continue with 3, then 2, then 1 shot.
- Rest and repeat.
Reps: 2–3 rounds.
Variations:
- Move efficiently between spots.
- Add a controlled closeout.
- Reduce rest between rounds for appropriately conditioned older players.
Best for: Intermediate and advanced players.
13. Crazy 8 Shooting Drill
Crazy 8 can be run in several formats. For shooting practice, use it as a movement-based drill that combines footwork, a change of direction, and a controlled shot.
How to do it:
- Set up two markers or cones for the movement pattern.
- Move through the pattern at a controlled pace.
- Receive a pass or attack toward your shooting position.
- Get your feet organized.
- Stop under control.
- Take the jump shot.
- Reset and repeat from the opposite direction.
Reps: 3–5 rounds.
Variations:
- Change the direction of movement.
- Add a dribble move before the shot.
- Add a defender when the player is ready.
Best for: Experienced youth players and advanced players.
14. Speed Shooting Drill
Speed shooting challenges players to move efficiently between shooting positions while maintaining balance and good mechanics.
How to do it:
- Choose several shooting positions.
- Set a timer.
- Start at the first position.
- Get your feet organized and shoot.
- Rebound or receive the next pass.
- Move efficiently to the next position.
- Record your total makes when the timer ends.
Duration: 30–60 seconds per round for 3–5 rounds.
Variations:
- Try to beat your previous make total.
- Have a partner pass the ball.
- Add a controlled closeout.
Best for: Intermediate and advanced players.
Coaching point: Speed should not mean rushing the mechanics. If balance or shooting technique breaks down, slow the drill down.
Off-the-Dribble Shooting Drills
Once players are comfortable shooting from stationary positions, they can add dribbling and changes of direction before the shot.
15. Pull-Up Jumper Drill
The Pull-Up Jumper Drill teaches players to control their momentum, stop under control, and transition from a dribble into a balanced shot.
How to do it:
- Start outside your chosen shooting area.
- Dribble toward the basket.
- Take one or two controlled dribbles.
- Stop at your shooting position.
- Get your feet underneath you.
- Shoot the jumper.
- Land under control and reset.
Reps: 10 shots from each side.
Variations:
- Use one dribble.
- Use two dribbles.
- Add a crossover before the pull-up.
Best for: Intermediate and advanced players.
16. Cone Dribble Pull-Up Drill
A cone provides a fixed point to attack before the player stops and shoots. It can help connect a change of direction with a controlled pull-up.
How to do it:
- Place a cone several feet in front of you.
- Dribble toward the cone.
- Use a crossover, hesitation, or another appropriate move.
- Move past the cone.
- Stop under control at your shooting position.
- Take the pull-up jumper.
- Repeat from the other side.
Reps: 3 sets of 5 shots per side.
Variations:
- Change the dribble move.
- Adjust the cone distance.
- Progress from a cone to a controlled defensive contest.
Best for: Players learning to create their own shots.
17. Give-and-Go Shooting Drill
The give-and-go teaches players to keep moving after passing. It combines passing, cutting, receiving, and finishing with a shot.
How to do it:
- Start with the basketball.
- Pass to a teammate.
- Immediately cut toward the basket or into open space.
- Receive the return pass.
- Catch and shoot.
- Reset and repeat from the opposite side.
Reps: 10–15 repetitions per side.
Variations:
- Finish with a layup.
- Add a defender.
- Change the direction of the cut.
Best for: Youth and intermediate players.
Team Shooting Drills
Team shooting drills give several players shooting repetitions while also involving passing, rebounding, communication, and movement.
18. 5-Spot Team Shooting
Set up five shooting positions and have players rotate through shooting, passing, and rebounding roles.
How to do it:
- Set up five shooting positions.
- Assign players to the different spots.
- Have one player shoot while another passes or rebounds.
- Rotate after the selected number of shots.
- Continue until players have worked from each position.
Reps: 5 shots from each position.
Variations:
- Set a team target for total makes.
- Add a time limit.
- Increase the number of shots at each spot.
Best for: Youth teams and group practices.
19. Pass, Rebound, Rotate Shooting Drill
This drill gives every player a role while keeping the group moving through shooting, passing, and rebounding responsibilities.
How to do it:
- One player passes to the shooter.
- The shooter takes the shot.
- A third player gets the rebound.
- Players rotate through the passing, shooting, and rebounding roles.
- Move to another shooting position after the selected number of repetitions.
- Continue until everyone has completed each role.
Duration: 10–15 minutes.
Variations:
- Set a team target.
- Add a time limit.
- Add a controlled defensive closeout.
Best for: Youth teams and regular team practices.
Competitive Basketball Shooting Drills
Competition can make shooting practice more engaging when the rules are appropriate for the player’s age and ability. The goal is to add focus and enjoyment without allowing competition to replace good shooting mechanics.
20. 31 Shooting Drill
There are several versions of the 31 Shooting Drill. A commonly documented team version awards different point values for shots from different areas, with groups competing to reach 31 points. One established version uses a three-pointer, a mid-range shot, and a shot inside the key during each turn.
How to do it:
- Divide players into small groups.
- Choose three shooting positions.
- Assign a point value to each position.
- Players take their shots and add the points from made baskets.
- Rotate to the next player.
- Continue until a player or team reaches 31 points.
Duration: Until 31 points are reached.
Variations:
- Change the shooting locations based on age and ability.
- Require a final long-range or free-throw shot.
- Divide players into teams.
Best for: Youth, intermediate, and competitive players.
21. 23 Cones Shooting Drill
23 Cones is a team shooting game that combines shooting with a second, pressure-filled attempt at the opposite end of the court. In the commonly documented format, 23 cones are placed at one end, and a made first shot earns the player an opportunity to make another shot to claim a cone for their team. The team with the most cones at the end wins.
How to do it:
- Place 23 cones at the opposite end of the court.
- Divide players into two teams.
- Give each team a basketball.
- Players begin shooting from the designated position.
- After a made shot, the shooter rebounds and passes to the next player.
- The shooter runs to the opposite end and gets one opportunity to make the designated second shot.
- If the second shot goes in, the player collects a cone for the team.
- Continue until the time limit ends or all cones have been collected.
- The team with the most cones wins.
Duration: 10–15 minutes.
Variations:
Move the second shooting position closer for younger players.
Use fewer cones for a shorter game.
Use a free throw or mid-range shot instead of a three-pointer for younger players.
Best for: Youth teams, camps, and competitive team practices.
How Often Should You Practice Basketball Shooting Drills?
The right amount of shooting practice depends on a player’s age, skill level, overall basketball schedule, and recovery needs. More shooting is not automatically better, particularly for young athletes who are also playing games and participating in team practices.
As a practical starting point:
- Beginners: 2–3 focused shooting sessions per week for about 15–20 minutes.
- Youth players: 2–4 sessions per week for about 20–30 minutes, depending on team practices and other activities.
- Intermediate players: 3–4 focused sessions per week for about 30–45 minutes, with recovery included in the overall schedule.
- Advanced or competitive players: Shooting can be practiced more frequently within a structured program, but total workload should account for games, team practices, strength training, other sports, and rest.
Note: You also do not need to use every drill in one workout. For example, one session could focus on form and free throws, another on spot and catch-and-shoot work, and another on movement or off-the-dribble shooting.
Common Basketball Shooting Mistakes to Avoid
Small habits can affect shooting consistency, particularly when they are repeated throughout practice.
- Poor shooting balance: Standing too upright or drifting during the shot can make it harder to control your release.
- Using too much arm strength: Standing too upright or drifting during the shot can make it harder to control your release.
- Rushing the release:Shooting before your feet and body are properly organized can lead to inconsistent attempts.
- Changing mechanics from distance: Shooting before your feet and body are properly organized can lead to inconsistent attempts.
- Dropping the follow-through: Pulling your shooting hand away too quickly can affect consistency, so hold your finish after release.
- Letting guide hand affect the shot: Your non-shooting hand should support the ball without pushing it sideways during the release.
- Taking quantity over quality: A high number of rushed repetitions is not automatically better than a smaller number of focused, technically sound shots.
Build a More Complete Basketball Skill Set
Shooting is only one part of becoming a better basketball player. Once players are comfortable with their shooting mechanics, they can work on the other skills that help them create and finish scoring opportunities during games.
For example, basketball dribbling drills can help players become more comfortable controlling the ball and creating space before a shot.
For a broader look at skill development, basketball drills cover shooting alongside ball handling, passing, defense, footwork, and other fundamentals. Valley Athletics’ existing basketball-drills resource is intentionally broader, so this page can remain focused specifically on shooting.
If you’re specifically working on shooting mechanics, how to shoot better in basketball provides a separate technique-focused resource covering balance, alignment, release, and follow-through.
Closing Thoughts
Getting better at shooting takes consistent, purposeful practice. You do not need to complete all 21 drills in one workout or spend hours taking random shots.
Start with your fundamentals, build a consistent shooting motion, and then gradually add range, movement, passing, dribbling, and pressure as your skills develop.
Most importantly, pay attention to how you practice, not just how many shots you take. Quality repetitions, appropriate challenges, and enough recovery can make your shooting practice more productive and help you become more comfortable applying those skills during games.
Ready to turn your shooting practice into game-ready skills?
FAQs
-
What are the best basketball shooting drills for beginners?
Close-Range Form Shooting, One-Hand Form Shooting, Free Throws, and Spot Shooting are good starting points because they allow beginners to focus on balance, shooting-hand position, release, and consistency before adding more complex movement.
-
How many basketball shooting drills should I practice in one session?
You usually do not need to practice all 21. Three to five drills that match your current goal can create a focused workout. Beginners can keep sessions shorter, while experienced players can add movement, pressure, and game-speed shooting.
-
Which basketball shooting drill is best for improving accuracy?
There is no single drill that improves accuracy for every player. Spot Shooting is useful because players can take repeated shots from specific areas and track their makes over time.
-
What are the best youth basketball shooting drills?
Form Shooting, One-Hand Form Shooting, Free Throws, Spot Shooting, Catch-and-Shoot, and simple partner shooting are good options for youth players. The shooting distance, number of repetitions, and pace should be adjusted to the player’s age and ability.
-
How can I improve my basketball shooting form?
Start close to the basket and focus on balance, shooting-hand position, elbow alignment, coordinated leg and arm extension, release, and follow-through. Once those mechanics are consistent, gradually add distance and movement.
-
Can I practice basketball shooting drills alone?
Yes. Form shooting, free throws, spot shooting, Around the World, range-extension work, and some pull-up drills can be practiced alone. A partner becomes useful when you want to work on catch-and-shoot situations, passing, rebounding, or defensive pressure.
-
What are some fun basketball shooting drills?
Around the World, 31 Shooting, Pressure Jump Shots, and 23 Cones can add a competitive or game-like element to shooting practice. The rules and difficulty can be adjusted to make them appropriate for different ages and skill levels.
-
Can basketball shooting drills be part of a shooting workout?
Yes. A focused shooting workout can combine form shooting, spot shooting, catch-and-shoot work, and a movement or pressure drill. This creates more variety than simply taking random shots and allows players to work on different parts of their shooting.
-
Why do my shots fall short when I shoot from farther away?
Shots may fall short when the player is not generating enough force through the coordinated movement of the legs and shooting arm, or when the distance is simply too great for their current mechanics. Move closer until you can maintain a controlled, balanced motion, then gradually work back.
-
Should young players practice three-point shooting?
Young players can work toward longer-range shooting as their strength and technique develop, but they should not sacrifice their mechanics simply to reach the three-point line. If a player has to push or throw the ball to reach the basket, moving closer is usually more productive.